1.Login to your blogger dashboard--> layout- -> Edit HTML
2.Scroll down to where you see </head> tag .
3.Copy below code and paste it just before the </head> tag .
<style type='text/css'>
.picturecaption { background-color: #000000;
filter:alpha(opacity=80);opacity:0.8;border: 1px solid #CCCCCC; padding: 3px;
font: 11px/1.4em Arial, sans-serif;color:#ffffff; }
.picturecaption img { border: 1px solid #CCCCCC;
vertical-align:middle; margin-bottom: 3px; }
.right { margin: 0.5em 0pt 0.5em 0.8em; float:right; }
.left { margin: 0.5em 0.8em 0.5em 0; float:left; }
</style>
4.Now save your template.
5.Now when your add a image add your image html tag inside a <div> tag as below.
<div style="width:302px;" class="picturecaption left"><img width="300" alt="Image short description" src="Image Address" height="225"/><br/>Enter Image Caption Text Here</div>
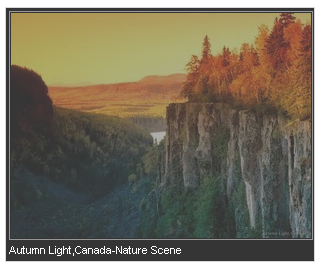
Look at the example below.
<div style="width:302px;" class="picturecaption left"><img width="300" alt="CSS Text Captions" src="https://1.bp.blogspot.com/_4HKUHirY_2U/Sv4dr-0tsXI/AAAAAAAAALM/ZDZtNU_Ekkw/Autumn+Light,Canada.jpg" height="225"/><br/>Autumn Light,Canada-Nature Scene</div>
Note:Change width,height,color,.. as your choice.
It will look like this:
